Best Remote IoT Setup Behind Router Using Raspberry Pi For Free In 2021
Setting up a remote IoT system behind a router using Raspberry Pi has become increasingly popular among tech enthusiasts and professionals alike. This setup offers endless possibilities for home automation, data collection, and remote monitoring. Whether you're a beginner or an experienced developer, mastering this technology can significantly enhance your IoT projects. In this article, we'll explore the best methods to create a remote IoT setup with Raspberry Pi for free in 2021.
IoT (Internet of Things) has revolutionized the way we interact with devices. By integrating Raspberry Pi into your IoT projects, you can unlock advanced functionalities without breaking the bank. This guide will walk you through the necessary steps to set up a reliable and secure remote IoT system, ensuring seamless connectivity even when behind a router.
With the growing demand for smart solutions, learning how to configure Raspberry Pi for remote IoT applications is a valuable skill. This article aims to provide you with actionable insights, practical tips, and expert advice to help you achieve your IoT goals efficiently. Let's dive in!
Read also:Laroyce Hawkins The Rising Star Of Television And Film
Table of Contents
- Introduction to IoT and Raspberry Pi
- Benefits of Using Raspberry Pi for IoT
- Remote IoT Setup Behind Router
- Free Tools for Remote IoT Access
- Securing Your IoT System
- Troubleshooting Common Issues
- Case Studies and Examples
- Future Trends in IoT
- Conclusion
- Call to Action
Introduction to IoT and Raspberry Pi
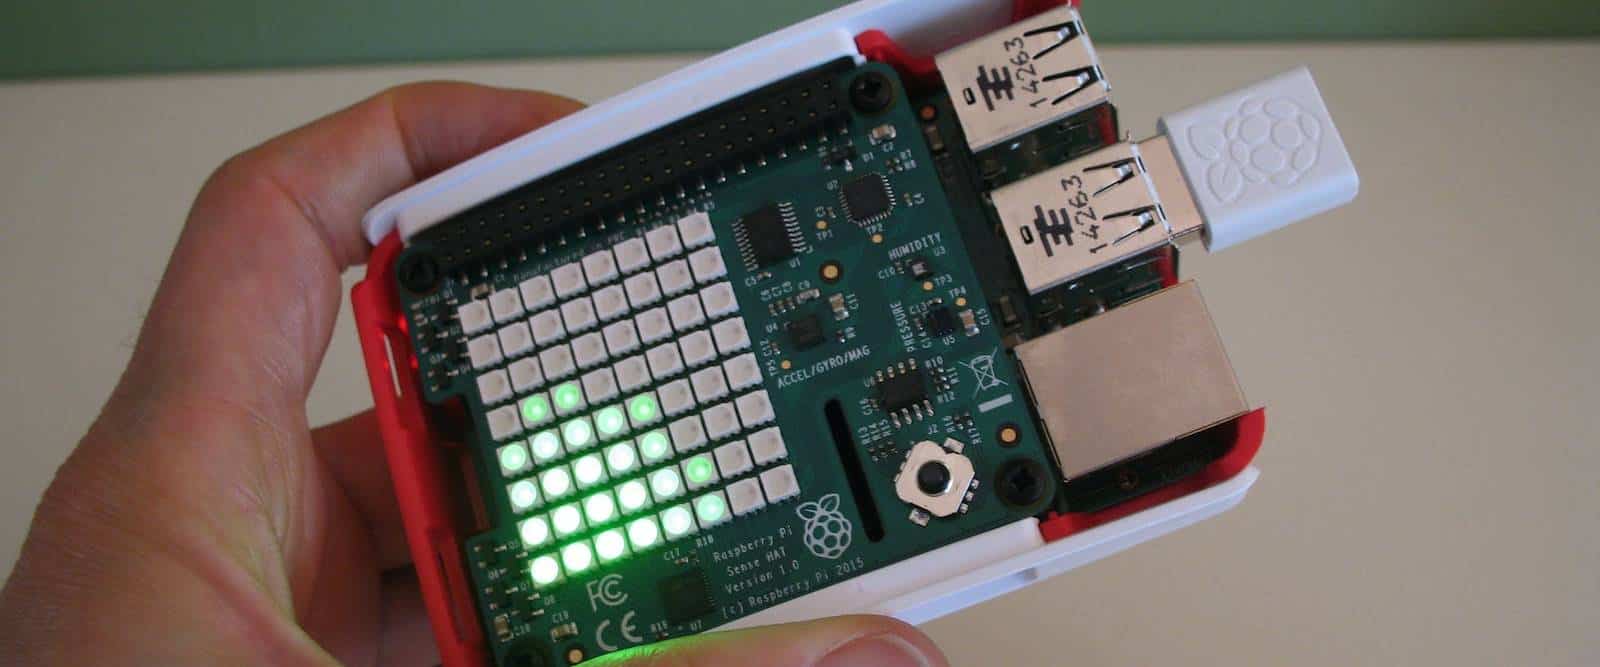
The Internet of Things (IoT) refers to the interconnection of everyday devices via the internet, enabling them to send and receive data. Raspberry Pi, a small yet powerful single-board computer, has emerged as a favorite tool for IoT enthusiasts due to its affordability and versatility.
Raspberry Pi can be used to build a variety of IoT projects, from home automation systems to weather monitoring stations. Its compatibility with numerous sensors and actuators makes it an ideal choice for both beginners and advanced users. By leveraging Raspberry Pi, you can create a robust remote IoT setup that operates efficiently even when behind a router.
Benefits of Using Raspberry Pi for IoT
Raspberry Pi offers several advantages for IoT projects, including:
- Cost-Effective: Raspberry Pi is affordable, making it accessible to hobbyists and small businesses.
- Flexibility: It supports a wide range of programming languages and operating systems, providing endless customization options.
- Community Support: A vast community of developers contributes to Raspberry Pi's success, offering tutorials, forums, and libraries to assist users.
- Energy Efficiency: Raspberry Pi consumes minimal power, making it suitable for long-term IoT deployments.
These benefits make Raspberry Pi a top choice for anyone looking to set up a remote IoT system.
Remote IoT Setup Behind Router
Setting up a remote IoT system behind a router requires careful planning and execution. Below, we outline the essential steps to achieve this setup effectively.
Step 1: Network Configuration
Configuring your network is the first step in ensuring your Raspberry Pi can communicate with external devices. Start by:
Read also:2024 Halftime Show Performer Everything You Need To Know
- Connecting your Raspberry Pi to your local network via Wi-Fi or Ethernet.
- Assigning a static IP address to your Raspberry Pi to maintain a consistent connection.
- Verifying that your router supports the necessary protocols for IoT communication.
Proper network configuration lays the foundation for a stable and reliable remote IoT setup.
Step 2: Port Forwarding
Port forwarding is crucial for allowing external devices to access your Raspberry Pi behind a router. Follow these steps:
- Log in to your router's admin panel.
- Create a port forwarding rule that directs incoming traffic to your Raspberry Pi's IP address.
- Test the connection to ensure port forwarding is functioning correctly.
By setting up port forwarding, you enable your Raspberry Pi to communicate with devices outside your local network.
Free Tools for Remote IoT Access
Several free tools can facilitate remote IoT access using Raspberry Pi. Some of the most popular options include:
- ngrok: A simple tool that creates secure tunnels to your Raspberry Pi, allowing remote access without complex configurations.
- SSH (Secure Shell): Enables secure communication between your Raspberry Pi and remote devices, ensuring data privacy.
- MQTT (Message Queuing Telemetry Transport): A lightweight protocol ideal for IoT applications, supporting efficient data exchange.
These tools provide powerful solutions for remote IoT setups without incurring additional costs.
Securing Your IoT System
Security is paramount when setting up a remote IoT system. Implement the following best practices to safeguard your Raspberry Pi:
- Use strong, unique passwords for all accounts and devices.
- Enable encryption for data transmission using SSL/TLS protocols.
- Regularly update your Raspberry Pi's operating system and installed software to patch vulnerabilities.
By prioritizing security, you protect your IoT system from potential threats and unauthorized access.
Troubleshooting Common Issues
Despite careful planning, issues may arise during your remote IoT setup. Here are some common problems and their solutions:
- Connection Problems: Ensure your Raspberry Pi is connected to the correct network and verify port forwarding settings.
- Performance Issues: Monitor your Raspberry Pi's resource usage and optimize your code for better performance.
- Security Breaches: Review your security protocols and apply the latest updates to mitigate risks.
Addressing these issues promptly ensures a smooth and efficient IoT experience.
Case Studies and Examples
Real-world examples demonstrate the effectiveness of remote IoT setups using Raspberry Pi. Consider the following case studies:
- Smart Home Automation: A homeowner used Raspberry Pi to control lighting, temperature, and security systems remotely, enhancing convenience and energy efficiency.
- Environmental Monitoring: A research team deployed Raspberry Pi-based sensors to collect data on air quality, humidity, and temperature in remote locations.
These examples highlight the versatility and potential of Raspberry Pi in IoT applications.
Future Trends in IoT
The IoT landscape continues to evolve, with emerging trends shaping its future. Some notable trends include:
- Edge Computing: Processing data closer to the source reduces latency and enhances real-time decision-making.
- AI Integration: Incorporating artificial intelligence into IoT systems improves predictive analytics and automation capabilities.
- 5G Connectivity: The rollout of 5G networks promises faster and more reliable connections for IoT devices.
Staying informed about these trends ensures you remain at the forefront of IoT innovation.
Conclusion
Setting up a remote IoT system behind a router using Raspberry Pi for free in 2021 is both achievable and rewarding. By following the steps outlined in this article, you can create a secure, efficient, and scalable IoT setup tailored to your needs. Remember to prioritize security, leverage free tools, and stay updated on the latest trends to maximize the potential of your Raspberry Pi-based IoT projects.
Call to Action
We encourage you to share your experiences and insights in the comments section below. Have you successfully implemented a remote IoT setup using Raspberry Pi? What challenges did you encounter, and how did you overcome them? Additionally, explore our other articles for more tips and tutorials on IoT and Raspberry Pi. Together, let's build a smarter, more connected world!
References:
Article Recommendations