How To Log Into Raspberry Pi Remotely From Windows 10
Logging into your Raspberry Pi remotely from Windows 10 has become an essential skill for tech enthusiasts and professionals alike. Whether you're managing a home server, automating tasks, or controlling IoT devices, understanding remote access is crucial. With the right tools and setup, you can connect to your Raspberry Pi effortlessly from any location.
Remote access allows you to control your Raspberry Pi without needing physical access to the device. This capability is particularly useful for managing headless systems or when you're away from your setup. By leveraging Windows 10's compatibility with various remote access tools, you can achieve seamless connectivity.
This guide will walk you through the step-by-step process of setting up and logging into your Raspberry Pi remotely from a Windows 10 machine. From configuring your Raspberry Pi to using reliable tools like SSH and VNC, we'll cover everything you need to know. Let's dive in!
Read also:21 Questions Game Freaky Unleashing Fun And Building Connections
Table of Contents
- Introduction to Remote Access
- Raspberry Pi Setup for Remote Access
- Preparing Your Windows 10 Machine
- Using SSH for Remote Login
- Setting Up VNC for Remote Desktop Access
- Network Configuration for Remote Access
- Security Best Practices
- Troubleshooting Common Issues
- Advanced Techniques for Remote Access
- Conclusion and Next Steps
Introduction to Remote Access
Remote access is a powerful tool that enables users to connect to and control devices from a distance. For Raspberry Pi users, this means you can manage your device without needing direct physical access. Remote access is especially beneficial for managing headless setups, where the Raspberry Pi operates without a monitor, keyboard, or mouse.
In this section, we'll explore the basics of remote access and why it's important for Raspberry Pi users. We'll also discuss the two primary methods for remote access: SSH (Secure Shell) and VNC (Virtual Network Computing).
By the end of this guide, you'll have a comprehensive understanding of how to log into your Raspberry Pi remotely from Windows 10, ensuring smooth and secure connectivity.
Raspberry Pi Setup for Remote Access
Enabling SSH on Raspberry Pi
Before you can log into your Raspberry Pi remotely, you need to enable SSH on the device. SSH is a secure protocol that allows you to access the command line interface of your Raspberry Pi from another machine. Here's how to enable SSH:
- Boot up your Raspberry Pi and log in.
- Open the terminal and type the following command:
sudo raspi-config. - Navigate to
Interfacing Optionsand selectP2 SSH. - Choose
Yesto enable SSH. - Reboot your Raspberry Pi by typing
sudo reboot.
Once SSH is enabled, your Raspberry Pi is ready to accept remote connections.
Configuring Static IP Address
Assigning a static IP address to your Raspberry Pi ensures that its network address remains consistent, making it easier to connect remotely. To configure a static IP:
Read also:Mayumi Tanaka Net Worth A Comprehensive Guide To Her Career And Achievements
- Open the terminal and edit the DHCP configuration file:
sudo nano /etc/dhcpcd.conf. - Add the following lines at the end of the file, replacing the IP address and gateway with your network settings:
interface eth0 static ip_address=192.168.1.100/24 static routers=192.168.1.1 static domain_name_servers=192.168.1.1
- Save the file and reboot your Raspberry Pi.
With a static IP, your Raspberry Pi will always be accessible at the same address on your local network.
Preparing Your Windows 10 Machine
To log into your Raspberry Pi remotely from Windows 10, you'll need to install the necessary tools. The two most common methods for remote access are SSH and VNC. Below, we'll cover how to prepare your Windows 10 machine for both methods.
Installing PuTTY for SSH
PuTTY is a popular SSH client for Windows that allows you to connect to your Raspberry Pi via the command line. Follow these steps to install PuTTY:
- Download PuTTY from the official website: https://www.putty.org/.
- Run the installer and follow the on-screen instructions to complete the installation.
- Once installed, open PuTTY and enter your Raspberry Pi's IP address in the
Host Name (or IP address)field. - Set the
Connection typetoSSHand clickOpen.
You should now see a terminal window where you can log in using your Raspberry Pi's credentials.
Installing VNC Viewer for Remote Desktop
VNC Viewer allows you to access your Raspberry Pi's graphical user interface from Windows 10. Here's how to install VNC Viewer:
- Download VNC Viewer from the official website: https://www.realvnc.com/en/connect/download/viewer/.
- Run the installer and follow the instructions to complete the installation.
- Open VNC Viewer and enter your Raspberry Pi's IP address in the
VNC Serverfield. - Click
Connectand log in using your Raspberry Pi's credentials.
VNC Viewer provides a full desktop experience, making it ideal for tasks that require graphical interaction.
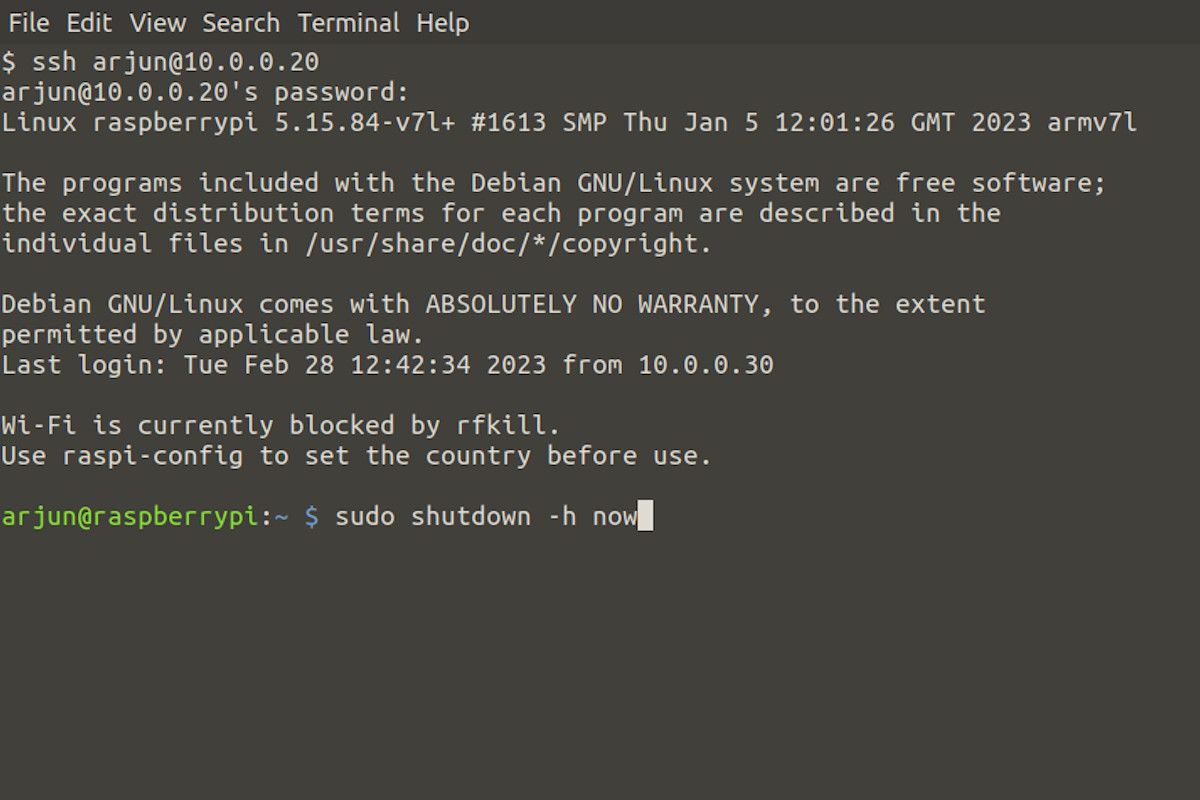
Using SSH for Remote Login
SSH is a secure and efficient way to log into your Raspberry Pi remotely. It allows you to execute commands and manage files directly from your Windows 10 machine. Below, we'll cover the step-by-step process of using SSH to connect to your Raspberry Pi.
Connecting via PuTTY
Once PuTTY is installed, connecting to your Raspberry Pi is straightforward:
- Open PuTTY and enter your Raspberry Pi's IP address in the
Host Name (or IP address)field. - Set the
Portto22and ensure theConnection typeis set toSSH. - Click
Opento establish the connection. - When prompted, enter your Raspberry Pi's username (usually
pi) and password.
You should now have a terminal session with your Raspberry Pi, allowing you to execute commands remotely.
Benefits of Using SSH
- Security: SSH encrypts all data transmitted between your Windows 10 machine and Raspberry Pi, ensuring secure communication.
- Efficiency: SSH is lightweight and fast, making it ideal for managing headless setups.
- Flexibility: You can automate tasks using scripts and manage files directly from the command line.
Setting Up VNC for Remote Desktop Access
VNC provides a graphical interface for remote access, allowing you to interact with your Raspberry Pi as if you were sitting in front of it. Here's how to set up VNC on your Raspberry Pi:
Enabling VNC on Raspberry Pi
- Log into your Raspberry Pi and open the terminal.
- Type the following command:
sudo raspi-config. - Navigate to
Interfacing Optionsand selectP3 VNC. - Choose
Yesto enable VNC. - Reboot your Raspberry Pi by typing
sudo reboot.
VNC is now enabled, and you can connect using VNC Viewer on your Windows 10 machine.
Connecting via VNC Viewer
- Open VNC Viewer on your Windows 10 machine.
- Enter your Raspberry Pi's IP address in the
VNC Serverfield. - Click
Connectand log in using your Raspberry Pi's credentials.
You should now see your Raspberry Pi's desktop, allowing you to interact with it remotely.
Network Configuration for Remote Access
Proper network configuration is essential for reliable remote access. Whether you're accessing your Raspberry Pi from within your local network or over the internet, understanding network settings is crucial.
Port Forwarding for External Access
If you want to access your Raspberry Pi from outside your local network, you'll need to configure port forwarding on your router. Here's how:
- Log into your router's admin interface using a web browser.
- Locate the
Port ForwardingorVirtual Serversettings. - Add a new rule for SSH (port 22) or VNC (port 5900), pointing it to your Raspberry Pi's static IP address.
- Save the changes and test the connection from an external network.
Port forwarding allows you to access your Raspberry Pi securely from anywhere in the world.
Using Dynamic DNS for Easy Access
Dynamic DNS services simplify remote access by assigning a memorable domain name to your Raspberry Pi's IP address. Popular services like No-IP and DuckDNS can help you achieve this:
- Sign up for a free Dynamic DNS service.
- Install the service's client software on your Raspberry Pi.
- Configure the client to update your domain name with your current IP address.
With Dynamic DNS, you can access your Raspberry Pi using a domain name instead of an IP address.
Security Best Practices
Security is paramount when enabling remote access to your Raspberry Pi. Follow these best practices to protect your device:
Changing Default Credentials
- Change the default username and password for your Raspberry Pi to something unique and strong.
- Avoid using common passwords that can be easily guessed.
Enabling Firewall Rules
- Use a firewall to restrict access to only necessary ports (e.g., SSH and VNC).
- Block unauthorized IP addresses to prevent unauthorized access.
Regular Software Updates
- Keep your Raspberry Pi's software up to date to patch security vulnerabilities.
- Regularly check for updates and install them promptly.
Troubleshooting Common Issues
Encountering issues while setting up remote access is common. Below are solutions to some frequently encountered problems:
Unable to Connect via SSH
- Ensure SSH is enabled on your Raspberry Pi.
- Verify that the IP address and port number are correct.
- Check your firewall settings to ensure port 22 is open.
VNC Connection Fails
- Confirm that VNC is enabled on your Raspberry Pi.
- Ensure the VNC Viewer software is properly installed on your Windows 10 machine.
- Check your network configuration for any blocking rules.
Advanced Techniques for Remote Access
For advanced users, there are additional techniques to enhance remote access capabilities:
Using SSH Tunn
Article Recommendations